
The DS18B20 is a popular and inexpensive temperature sensor that is widely used with the Raspberry Pi for various applications, from home automation to scientific experiments. This digital thermometer provides accurate temperature readings over a wide range (-55°C to +125°C) and can be easily interfaced with the Raspberry Pi using the 1-Wire protocol.
Understanding the DS18B20 Sensor
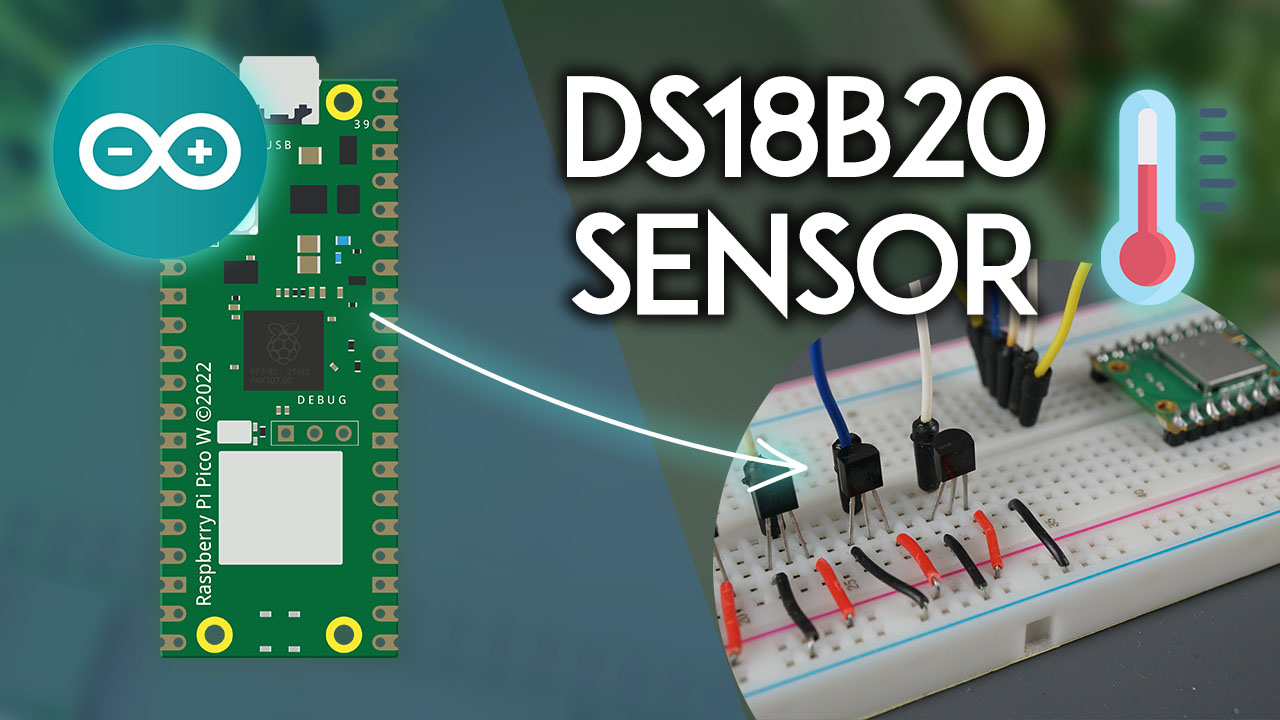
The DS18B20 is a digital thermometer that measures temperatures from -55°C to +125°C with an accuracy of ±0.5°C over the range of -10°C to +85°C. It communicates over a single data line using the 1-Wire protocol, which simplifies wiring and allows multiple sensors to be connected to the same data line.
Wiring the DS18B20 to the Raspberry Pi
Connecting the DS18B20 to the Raspberry Pi is straightforward and requires only a few components:
- DS18B20 temperature sensor
- 4.7kΩ pull-up resistor
- Breadboard and jumper wires
Here’s how to wire the DS18B20 to the Raspberry Pi:
- Ground (GND): Connect the GND pin of the DS18B20 to one of the ground pins on the Raspberry Pi.
- Data (DQ): Connect the DQ pin of the DS18B20 to GPIO 4 (pin 7) on the Raspberry Pi.
- Power (VDD): Connect the VDD pin of the DS18B20 to the 3.3V pin on the Raspberry Pi.
- Pull-up Resistor: Connect a 4.7kΩ resistor between the DQ pin of the DS18B20 and the 3.3V pin on the Raspberry Pi.
Enabling 1-Wire Interface on the Raspberry Pi
Before you can use the DS18B20 sensor, you need to enable the 1-Wire interface on the Raspberry Pi:
- Open the Raspberry Pi configuration tool: sudo raspi-config
- Navigate to “Interfacing Options” and enable the 1-Wire interface.
- Reboot the Raspberry Pi for the changes to take effect.
Reading Temperature with Python
Here’s a Python example that reads the temperature from a single DS18B20 sensor connected to the Raspberry Pi:
python
import time
import os
sensor_file = ‘/sys/bus/w1/devices/28-xxxxxxxxxx/w1_slave’
def read_temp_raw():
f = open(sensor_file, ‘r’)
lines = f.readlines()
f.close()
return lines
def read_temp():
lines = read_temp_raw()
while lines[0].strip()[–3:] != ‘YES’:
time.sleep(0.2)
lines = read_temp_raw()
equals_pos = lines[1].find(‘t=’)
if equals_pos != –1:
temp_string = lines[1][equals_pos+2:]
temp_c = float(temp_string) / 1000.0
return temp_c
while True:
print(f”Temperature: {read_temp()}°C”)
time.sleep(1)
This script reads the temperature from the sensor and prints it to the console every second.
Reading Temperature with C
If you prefer working with C, here’s an example that reads the temperature from a single DS18B20 sensor:
#include <stdio.h>
#include <stdlib.h>
#include <unistd.h>
#include <fcntl.h>
#include <dirent.h>
#include <string.h>
#define MAX_SENSORS 10
#define SENSOR_PATH “/sys/bus/w1/devices/”
#define SENSOR_FILE “w1_slave”
int read_temp(char *sensor_id, double *temp)
char path[100];
sprintf(path, “%s%s/%s”, SENSOR_PATH, sensor_id, SENSOR_FILE);
int fd = open(path, O_RDONLY);
if (fd < 0)
return 1;
char buf[256];
read(fd, buf, 256);
close(fd);
char *start = strstr(buf, “t=”);
if (!start)
return 1;
*temp = strtod(start + 2, NULL) / 1000.0;
return 0;
int main()
DIR *dir;
struct dirent *dirent;
char sensor_ids[MAX_SENSORS][17];
int num_sensors = 0;
dir = open Dir(SENSOR_PATH);
if (!dir)
return 1;
while ((dirent = readdir(dir)))
if (strncmp(dirent->d_name, “28-“, 3) == 0 && strlen(dirent->d_name) == 15)
strcpy(sensor_ids[num_sensors], dirent->d_name);
num_sensors++;
if (num_sensors >= MAX_SENSORS)
break;
closedir(dir)
while (1)
for (int i = 0; i < num_sensors; i++)
double temp;
if (read_temp(sensor_ids[i], &temp) == 0)
printf(“Sensor %s: %.2f°C\n”, sensor_ids[i], temp);
else
printf(“Error reading sensor %s\n”, sensor_ids[i]);
sleep(1)
return 0;
This program scans for connected DS18B20 sensors and prints the temperature readings for each sensor every second.
Tips for Reliable Temperature Readings
While the DS18B20 is generally reliable, there are a few things to keep in mind for accurate and consistent temperature readings:
- Use a 4.7kΩ Pull-up Resistor: The pull-up resistor is essential for proper communication with the 1-Wire bus. Always use a 4.7kΩ resistor.
- Proper Wiring: Double-check your wiring to ensure that the sensor is connected correctly to the Raspberry Pi.
- Avoid Electrical Noise: Keep the sensor wires away from sources of electrical noise, such as motors or high-voltage lines.
- Use Shielded Cables: For long cable runs or noisy environments, consider using shielded cables to minimize interference.
- Allow Time for Stabilization: After powering on the sensor, allow a few seconds for the temperature readings to stabilize.
- Use Multiple Sensors: If you need to monitor temperatures in different locations, use multiple DS18B20 sensors connected to the same 1-Wire bus.
Real-World Projects with the DS18B20
The DS18B20 temperature sensor has a wide range of applications, from simple temperature monitoring to complex automation systems. Here are a few real-world project ideas:
- Home Automation: Integrate the DS18B20 with a home automation system to monitor and control the temperature in different rooms or zones.
- Greenhouse Monitoring: Use the DS18B20 to monitor temperature and humidity levels in a greenhouse, and automatically adjust conditions as needed.
- Incubator Control: Build an incubator for hatching eggs or growing bacterial cultures, and use the DS18B20 to maintain precise temperature control.
- Scientific Experiments: Use the DS18B20 for temperature logging and data collection in various scientific experiments, such as monitoring chemical reactions or environmental studies.
- Food Safety: Monitor the temperature of refrigerators, freezers, and storage areas to ensure food safety and compliance with regulations.
Key Takeaways
- The DS18B20 is an inexpensive and accurate digital temperature sensor that can be easily interfaced with the Raspberry Pi using the 1-Wire protocol.
- Proper wiring, including the use of a 4.7kΩ pull-up resistor, is essential for reliable communication with the sensor.
- Python and C code examples are provided for reading temperature data from the DS18B20 sensor.
- Multiple DS18B20 sensors can be connected to the same 1-Wire bus, allowing for temperature monitoring in various locations.
- The DS18B20 has a wide range of applications, including home automation, greenhouse monitoring, incubator control, scientific experiments, and food safety.
Conclusion
The Raspberry Pi DS18B20 temperature sensor is a versatile and cost-effective solution for various temperature monitoring and control applications. By following the guidelines in this article, you can set up and use the DS18B20 with your Raspberry Pi projects, ensuring reliable and accurate temperature readings. Whether you’re a hobbyist or a professional, the DS18B20 offers an excellent starting point for exploring the world of temperature sensing and automation.
Frequently Asked Questions
Q. What is the maximum number of DS18B20 sensors that can be connected to a Raspberry Pi?
A. While there is no hard limit, it is generally recommended to connect no more than 10-20 DS18B20 sensors to a single Raspberry Pi. Connecting too many sensors can lead to communication issues and unreliable readings.
Q. Can I use the DS18B20 sensor with other microcontrollers or boards?
A. Yes, the DS18B20 sensor can be used with a wide range of microcontrollers and boards that support the 1-Wire protocol, such as Arduino, ESP32, and others.
Q. How do I waterproof the DS18B20 sensor for outdoor use?
A. You can waterproof the DS18B20 sensor by encasing it in a waterproof housing or using a waterproof cable. Additionally, you can apply a waterproofing compound or sealant to the sensor and cable connections.
Q. What is the maximum cable length that can be used with the DS18B20?
A. The maximum cable length for the DS18B20 sensor depends on several factors, such as cable quality, environment, and the number of sensors connected. Generally, cable lengths up to 30 meters (100 feet) should work without issues, but longer lengths may require additional precautions or signal amplification.
Q. Can the DS18B20 sensor measure humidity or other environmental factors?
A. No, the DS18B20 is designed to measure temperature only. To measure humidity or other environmental factors, you would need to use additional sensors specifically designed for those purposes.
Q. How do I calibrate the DS18B20 sensor for improved accuracy?
A. While the DS18B20 sensor is already quite accurate, you can further improve its accuracy by calibrating it against a known reference temperature. This process typically involves taking multiple readings at different temperatures and adjusting the sensor’s calibration values accordingly.
Q. Can I use the DS18B20 sensor for high-temperature applications?
A. The DS18B20 sensor has an operating temperature range of -55°C to +125°C. While it can be used for some high-temperature applications within this range, it may not be suitable for extremely high temperatures or harsh environments. For such applications, you may need to consider alternative temperature sensors designed for those specific conditions.
Q. Can I use multiple DS18B20 sensors with different resolutions?
A. Yes, you can use DS18B20 sensors with different resolution settings on the same 1-Wire bus. However, keep in mind that setting a higher resolution will result in longer conversion times and may affect the overall performance of your system.
Q. How do I power multiple DS18B20 sensors from a single Raspberry Pi?
A. If you need to power multiple DS18B20 sensors from a single Raspberry Pi, you can use a external power supply or a power distribution board. This ensures that the sensors receive a stable and sufficient power supply, preventing issues related to power draw or voltage drop.
Q. Can the DS18B20 sensor be used for continuous monitoring or data logging?
A. Yes, the DS18B20 sensor can be used for continuous temperature monitoring and data logging applications. You can write a script or program to periodically read the sensor data and store it in a file or database for later analysis or visualization.
Q. How do I protect the DS18B20 sensor from physical damage or environmental factors?
A. To protect the DS18B20 sensor from physical damage or environmental factors, you can encase it in a protective housing or use a waterproof cable. Additionally, you can mount the sensor in a location that is sheltered from potential hazards or harsh conditions.
Q. Can I use the DS18B20 sensor with a battery-powered Raspberry Pi setup?
A. Yes, you can use the DS18B20 sensor with a battery-powered Raspberry Pi setup. However, keep in mind that the power consumption of the sensor and the frequency of temperature readings will affect the battery life. You may need to optimize your code and hardware configuration for optimal power efficiency.
Q. How do I properly handle and store the DS18B20 sensor when not in use?
A. When not in use, it is recommended to store the DS18B20 sensor in a cool, dry place, away from direct sunlight or moisture. Avoid exposing the sensor to extreme temperatures or physical stress, as this could damage the internal components or affect its accuracy.
Q. Can the DS18B20 sensor be used for applications requiring high-speed temperature readings?
A. The DS18B20 sensor has a relatively slow conversion time (typically around 750ms), which may not be suitable for applications requiring high-speed temperature readings. For such applications, you may need to consider alternative temperature sensors with faster conversion times or implement techniques like parallel reading from multiple sensors.
Q. How do I ensure accurate temperature readings when using long cable runs with the DS18B20 sensor?
A. When using long cable runs with the DS18B20 sensor, it is recommended to use shielded cables to minimize the effects of electrical noise and interference. Additionally, you may need to consider using signal amplification or repeater circuits to maintain signal integrity over longer distances.
Q. Can the DS18B20 sensor be used for temperature control applications?
A. Yes, the DS18B20 sensor can be used for temperature control applications, such as in incubators, climate control systems, or industrial processes. You can integrate the sensor with a control system or microcontroller to monitor and adjust the temperature based on the sensor readings.
Q. How do I handle multiple DS18B20 sensors with the same address on the 1-Wire bus?
A. Each DS18B20 sensor has a unique 64-bit address, which allows multiple sensors to be connected to the same 1-Wire bus. However, if you encounter sensors with the same address (which is unlikely but possible), you can manually assign unique addresses to each sensor using the appropriate commands and protocols.
Q. Can the DS18B20 sensor be used in hazardous or explosive environments?
A. The DS18B20 sensor is not specifically designed for use in hazardous or explosive environments. If you need to use a temperature sensor in such environments, you should consider industrial-grade temperature sensors that are certified for use in those conditions and meet the necessary safety standards.