
Netdata is an open-source monitoring and troubleshooting tool that provides real-time insights into systems and applications. It is designed to be lightweight, easy to install, and secure out of the box. Netdata runs well on resource-constrained devices like the Raspberry Pi and can help optimize performance.
Benefits of Running Netdata on a Raspberry Pi
The Raspberry Pi’s low-cost and compact design make it perfect for using as a dedicated monitoring device. Here are some of the main benefits:
Real-Time Metrics and Alerts
Netdata provides granular, per-second metrics for things like CPU usage, memory/disk usage, network activity, and running processes/services. You can easily visualize performance and set custom alerts when thresholds are crossed.
Low Overhead
Netdata uses minimal CPU/memory itself, so there is negligible impact on the Pi’s performance. It’s designed for resource constrained systems.
Easy to Deploy and Maintain
Installation only takes one line: bash <(curl -Ss https://my-netdata.io/kickstart.sh). Automatic nightly updates keep it secure without ongoing maintenance.
Vibrant Open-Source Community
As an open-source project with over 600 contributors, Netdata benefits from constant improvements and oversight from a global community.
Flexible Notifications
Alert notifications can be sent via Slack, Discord, Teams, Telegram, Twilio SMS and more. Webhook support lets you trigger actions in other software.
Installing Netdata on a Raspberry Pi
Netdata can be installed via a one-line install script. Here are the steps:
1. SSH into the Pi
SSH provides secure command line access:
ssh pi@raspberrypi
2. Download and Execute Netdata Kickstart Script
Run the following as pi user. It will detect OS, install dependencies, download/configure Netdata:
bash <(curl -Ss https://my-netdata.io/kickstart.sh)
That’s it! The whole process takes around 2-3 minutes on a Pi.
3. Verify the Installation
Check that Netdata is running with:
systemctl status netdata
You should see output showing Netdata is active.
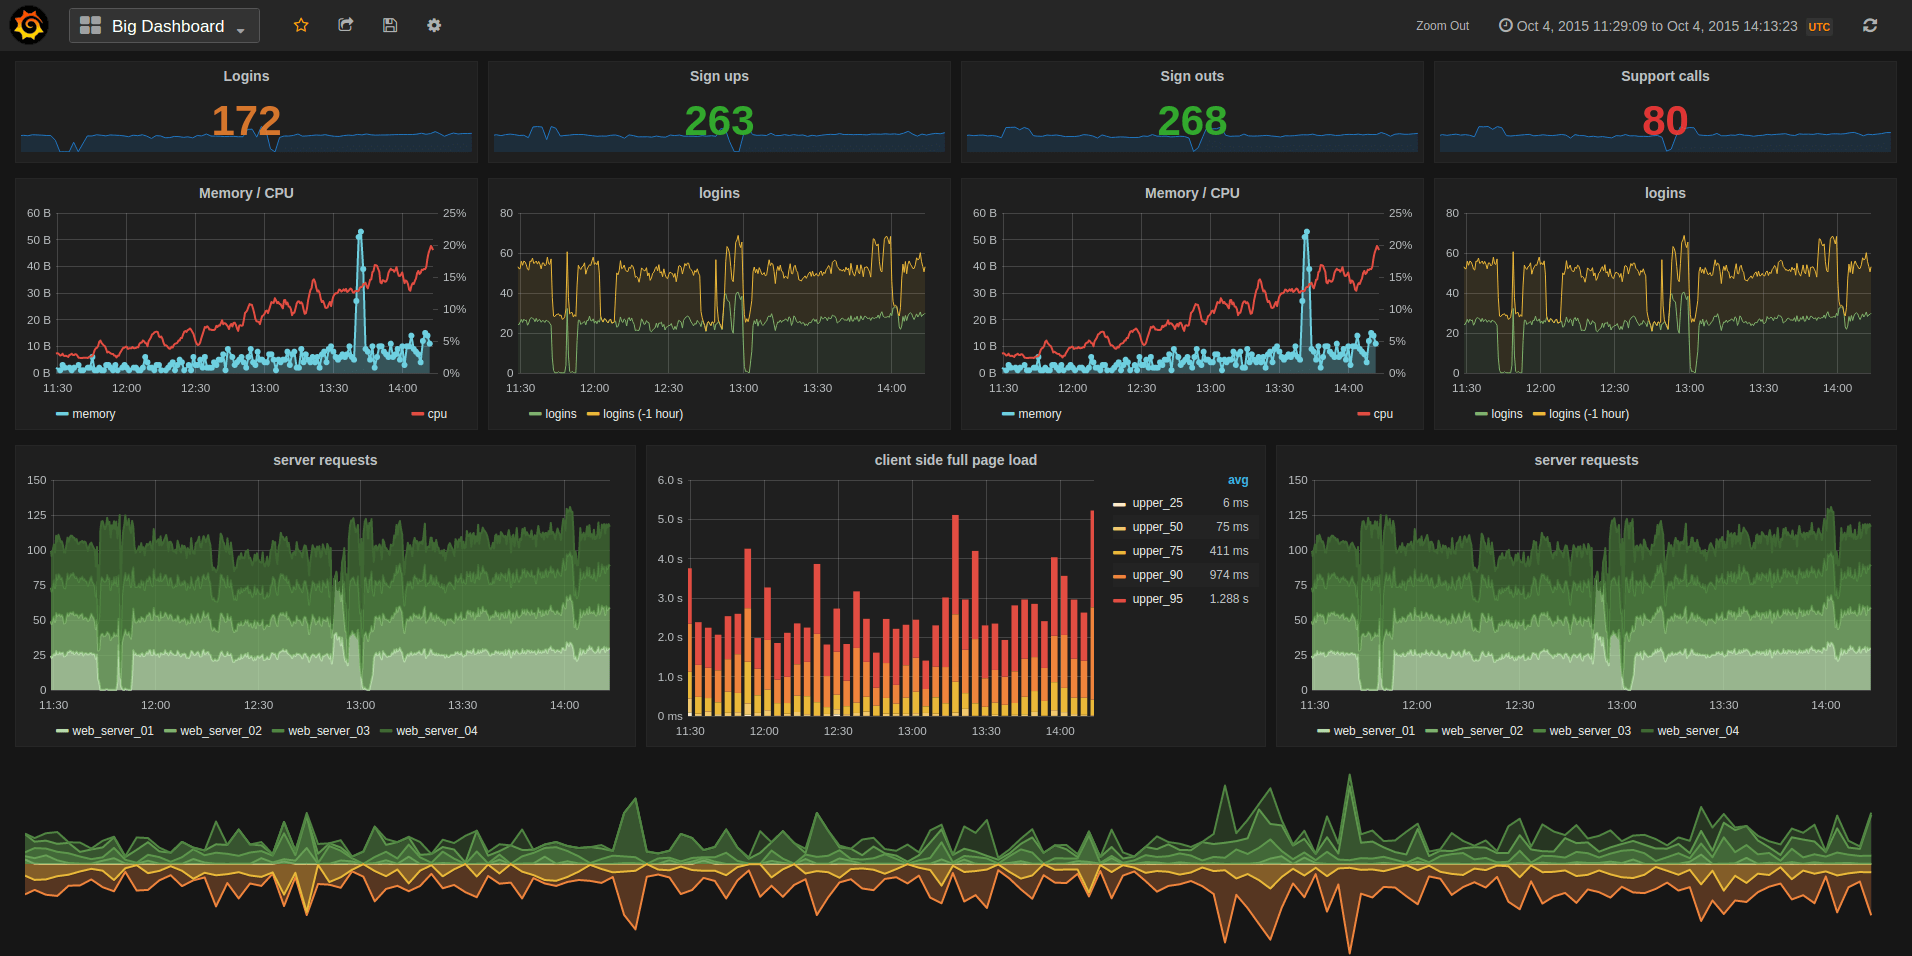
Finally, open http://raspberrypi:19999 in your browser. You should see the real-time Netdata dashboard:
Netdata is now collecting system metrics and visualizing performance in real-time.
Configuring Netdata on the Pi
Beyond installation, there are a few configurations that are useful for improving monitoring and security with Netdata on a Pi.
1. Set Up Alert Notifications
Open the Netdata config at /etc/netdata/health_alarm_notify.conf. Notification services like Discord or Telegram can be configured here so you’ll know immediately if there is a server issue.
This guide explains the syntax: Netdata Alert Notifications Docs
2. Adjust Data Collection Frequency
By default Netdata collects metrics per second. On a Pi you can lower cpu usage by reducing the frequency.
To collect data every 10 seconds instead, edit /etc/netdata/netdata.conf:
[global]
update every = 10
Restart Netdata to apply.
3. Enable Netdata Cloud
Netdata Cloud allows secure remote access and monitoring from other devices. To enable:
cd /etc/netdata
./edit-config netdata.conf
Set claim token field to your personal security token.
Optimizing a Raspberry Pi for Running Netdata
There are some Raspberry Pi optimizations worth using to minimize resource usage by Netdata:
Use a Raspberry Pi 4
The extra RAM and CPU power provides plenty of headroom. Netdata uses almost zero resources on an idle Pi 4.
Add a Heatsink
A passive heatsink prevents thermal throttling under load, keeping the SOC frequency higher.
Overclock the Pi
Carefully bump the CPU speed from 1.5GHz to 2.0 – 2.1 GHz. This 20%+ boost offsets overhead.
Use a Fast MicroSD Card
A U3 A2 microSD card reduces I/O contention. Netdata logs to disk so faster is better.
Run the Lite OS
Raspberry Pi OS Lite has no desktop GUI, freeing more resources for Netdata monitoring.
With good tuning, a Raspberry Pi 4 can easily monitor itself along with a few other systems using Netdata agents.
Using the Netdata Dashboard on a Pi
Once installed, open the Netdata dashboard at http://raspberrypi:19999. Real-time metrics are plotted in seconds:
Click and drag on charts to inspect historical data. Click the play button to disable real-time view.
Some key sections to check performance:
- System Overview – CPU usage, load avg, RAM, disk. Quick health check.
- Memory – Monitor total usage over time.
- Disks – Storage access frequency and throughput.
- Network Interfaces – Bandwidth utilization per interface.
The dashboard layout can be customized at Settings > Appearance by rearranging or hiding sections. Changes are saved automatically.
Alerts appear prominently when metrics cross defined thresholds continuously for a duration. Click Alarms to configure notification services, recipients, triggers per metric etc.
Additional Raspberry Pi Monitoring
A single Netdata instance can monitor multiple systems by installing Netdata agents. Some ideas:
Monitor DietPi Servers
Export all host metrics from a cluster of DietPi server VMs to the Pi.
View Nginx Metrics
Install Netdata agent on device running Nginx to see concurrent connections and bandwidth.
Monitor Kubernetes Services
Netdata integrates nicely with Kubernetes for container/orchestration visibility .
Track Home Assistant History
Export sensor history from Home Assistant instances to visualize trends.
Centralized Logging
Use the Netdata Log API to export application logs from other devices.
Netdata provides 200+ plugins out of the box to monitor popular infrastructure – check them all on the Plugins page.
The full potential of Netdata can be unlocked by connecting multiple systems into a unified view. A Raspberry Pi is a great centralized instance for small environments and IoT devices.
Conclusion
Running Netdata on a Raspberry Pi provides an inexpensive yet powerful system monitoring solution. Near real-time visibility into performance metrics allows you to optimize services and troubleshoot issues when they first appear.
While resource friendly, Netdata delivers an enterprise-grade monitoring experience rivaling commercial solutions. An active open-source community ensures it continues to evolve across metrics, integrations, security capabilities and more.
If system performance transparency is useful to you, give Netdata on a Pi a try. Monitoring your infrastructure is just one CLI command away!
Key Takeaways:
- Netdata provides real-time performance monitoring using minimal system resources
- Visual dashboards with historical graphs help spot usage trends
- Alert notifications inform you immediately of any infrastructure issues
- Seamlessly monitor multiple systems by installing Netdata agents
- Raspberry Pi is a great low-cost platform for running Netdata
Frequently Asked Questions
Q: Does Netdata work on all models of Raspberry Pi?
A: Netdata can run on all modern Pi models (Pi 2 and above). Using a Pi 4 is recommended for best performance.
Q: How much system overhead does Netdata add?
A: Netdata is very lightweight, using just ~20-30 MB RAM with minimal CPU usage. It won’t noticeably impact a Pi system.
Q: Can I access the Netdata dashboard remotely?
A: Yes! Enable Netdata Cloud to securely access the dashboard from any browser.
Q: Does Netdata integrate with other monitoring tools?
A: Yes, Netdata metrics can be exported to tools like Prometheus, Graphite, JSON, etc. for correlation.
Q: Can I monitor Windows or MacOS devices with Netdata?
A: Netdata works great on Linux, but the agent also runs on Windows and MacOS to monitor those systems.
Q: Can I change the dashboard theme or layout?
A: You customize the dashboard theme, charts, sections from the Settings > Appearance menu.
Q: How do Netdata updates work on the Pi?
A: Nightly updates run automatically in the background. These keep Netdata secure without ongoing maintenance.
Q: What types of metrics can Netdata monitor?
A: 200+ system, database, web server, container, and application metrics out of the box!
Q: Does Netdata require any programming to extend?
A: Plugins can be written in BASH or Python to add new metrics without programming. Advanced integrations possible via Go or C.
Q: Can multiple users access the Netdata dashboard?
A: Yes, role-based access control allows assigning view/edit rights across users.
Q: How quickly does Netdata alert on an issue?
A: Alerts are triggered by X threshold crossed for Y duration. So within seconds of a sustained problem!
Q: Is there latency running Netdata from the Pi?
A: The agent collects metrics locally so there is no extra latency vs running on the monitored system.
Q: Can I monitor network device uptimes with Netdata?
A: Yes! Netdata can parse ping and traceroute data to plot uptimes for any IP device.
Q: Does Netdata integrate with observability platforms?
A: Yes, metrics can be exported to Elasticsearch, Splunk, InfluxDB, TimescaleDB etc. for correlation.
Q: Where can I find help with Netdata configuration?
A: Check out the vibrant community forums at https://community.netdata.cloud/ or https://reddit.com/r/netdata.
Q: What notification services does Netdata support?
A: Email, Slack, Discord, Telegram, Twilio SMS, OpsGenie, PagerDuty, Amazon SNS, and 50 more!
Q: Can I view Netdata metrics on my phone?
A: The mobile-friendly dashboard works beautifully on phones and tablets!
Q: Does Netdata support RBAC permission controls?
A: Yes! Fine-grained role-based access control allows granting view, edit or admin rights per user.
Q: How is Netdata different than other system monitors?
A: Its real-time granularity, widgets, alarm notifications make digging into issues far quicker. Intuitive UI lowers time to value.
Q: Is there documentation available for Netdata?
A: Comprehensive documentation at https://learn.netdata.cloud – tutorials, videos, dashboards library etc.