
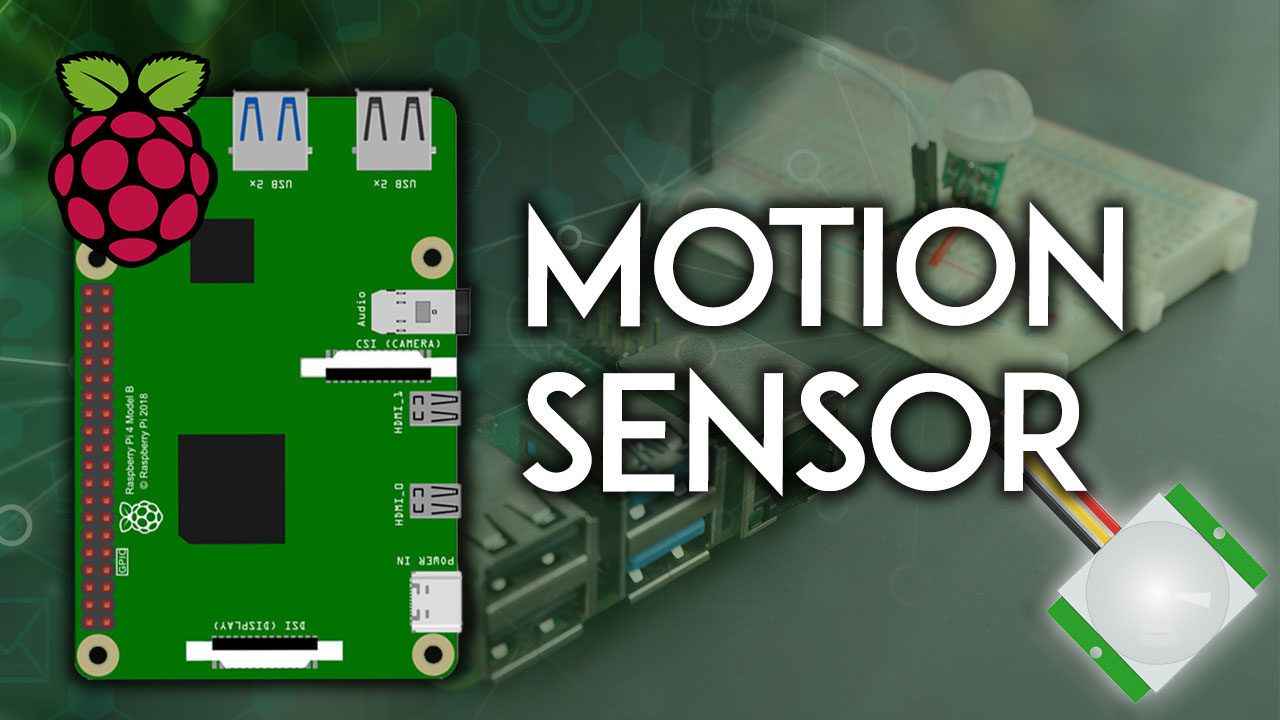
The Raspberry Pi is a versatile single-board computer that can be used for a wide range of projects, including motion detection. By combining a Raspberry Pi with a Passive Infrared (PIR) sensor, you can create a reliable motion sensor system for various applications such as home security, wildlife monitoring, or energy-saving automation. In this article, we will guide you through the process of setting up a Raspberry Pi motion sensor using a PIR sensor, including hardware requirements, wiring, software setup, and code examples.
What is a PIR Sensor?
A PIR sensor is an electronic device that measures infrared light radiating from objects in its field of view. It is used to detect motion by sensing changes in the infrared radiation emitted by objects as they move across the sensor’s detection area. PIR sensors are commonly used in security systems, automatic doors, and energy-saving devices.
PIR sensors have several advantages over other types of motion sensors:
- Passive operation: PIR sensors do not emit any energy, making them more energy-efficient and less detectable than active sensors like ultrasonic or microwave sensors.
- Insensitive to non-living objects: PIR sensors are designed to detect the infrared radiation emitted by living beings, making them less likely to trigger false alarms due to moving objects like fans or curtains.
- Adjustable sensitivity and range: Most PIR sensors allow you to adjust their sensitivity and detection range to suit your specific application.
Hardware Requirements
To set up a Raspberry Pi motion sensor, you will need the following components:
- Raspberry Pi board (any model)
- PIR sensor (e.g., HC-SR501)
- Jumper wires
- Breadboard (optional)
- Resistors (optional, for pull-down or pull-up configurations)
- LED (optional, for visual indication of motion detection)
Wiring the PIR Sensor to Raspberry Pi
The PIR sensor typically has three pins: VCC (power), GND (ground), and OUT (output signal). To connect the PIR sensor to your Raspberry Pi, follow these steps:
- Connect the VCC pin of the PIR sensor to a 5V pin on the Raspberry Pi.
- Connect the GND pin of the PIR sensor to a GND pin on the Raspberry Pi.
- Connect the OUT pin of the PIR sensor to a GPIO pin on the Raspberry Pi. For this example, we will use GPIO 4 (pin 7).
If your PIR sensor has additional pins for setting the sensitivity and delay time, you can refer to its datasheet for more information on how to configure these settings.
Software Setup
Before you can start using your Raspberry Pi motion sensor, you need to set up the necessary software. Follow these steps:
- Update your Raspberry Pi’s package list and install the latest updates:
sudo apt update
sudo apt upgrade
Install the RPi.GPIO library if it’s not already installed:
sudo apt install python3-rpi.gpio
Create a new Python file for your motion sensor code:
- nano motion_sensor.py
Python Code for Motion Detection
Here’s a basic Python script that demonstrates how to use the PIR sensor for motion detection:
python
import RPi.GPIO as GPIO
import time
PIR_PIN = 4
GPIO.setmode(GPIO.BCM)
GPIO.setup(PIR_PIN, GPIO.IN)
def motion_detected(pin):
print(“Motion detected!”)
GPIO.add_event_detect(PIR_PIN, GPIO.RISING, callback=motion_detected)
try:
while True:
time.sleep(1)
except KeyboardInterrupt:
print(“Exiting…”)
finally:
GPIO.cleanup()
This script does the following:
- Imports the necessary libraries (RPi.GPIO and time).
- Defines the GPIO pin connected to the PIR sensor’s output (PIR_PIN = 4).
- Sets up the GPIO mode and configures the PIR_PIN as an input.
- Defines a callback function (motion_detected) that is called whenever motion is detected.
- Adds an event detection for the PIR_PIN, triggering the callback function on the rising edge of the signal.
- Runs an infinite loop to keep the script running, with a 1-second delay between each iteration.
- Cleans up the GPIO settings when the script is interrupted or exited.
To run the script, save the file and execute it using Python 3:
python3 motion_sensor.py
Whenever motion is detected, the script will print “Motion detected!” to the console.
Practical Applications
A Raspberry Pi motion sensor using a PIR sensor can be used in various practical applications, such as:
- Home security system
- Integrate the motion sensor with a camera to capture images or videos when motion is detected.
- Send alerts via email, SMS, or push notifications when motion is detected.
- Trigger an alarm or turn on lights to deter intruders.
- Wildlife monitoring
- Use the motion sensor to detect the presence of animals in a specific area.
- Capture images or videos of the animals for research or conservation purposes.
- Analyze the data to study animal behavior or population dynamics.
- Energy-saving automation
- Use the motion sensor to control lighting, heating, or cooling systems based on room occupancy.
- Turn off devices when no motion is detected for a set period to save energy.
- Integrate with smart home systems to create automated energy-saving routines.
- Visitor counter
- Use the motion sensor to count the number of people entering or leaving a room or building.
- Analyze the data to optimize staffing, resources, or energy consumption based on visitor traffic.
- Integrate with a display or web interface to provide real-time visitor information.
Troubleshooting
If you encounter issues with your Raspberry Pi motion sensor, consider the following troubleshooting tips:
- Double-check the wiring: Ensure that the PIR sensor is correctly connected to the Raspberry Pi’s power, ground, and GPIO pins.
- Adjust the PIR sensor’s sensitivity: If the sensor is triggering too often or not often enough, adjust its sensitivity using the potentiometers on the sensor board.
- Check the PIR sensor’s delay time: Some PIR sensors have a delay time between consecutive triggers. Make sure to account for this delay in your code.
- Verify the GPIO pin numbering: Ensure that you are using the correct GPIO pin numbering scheme (BCM or BOARD) in your code.
- Test the PIR sensor independently: Connect the PIR sensor to an LED and power source to verify that it is functioning correctly without the Raspberry Pi.
- Update the software: Make sure that your Raspberry Pi’s operating system and Python libraries are up to date.
Enhancing the Motion Sensor
To enhance your Raspberry Pi motion sensor project, consider the following ideas:
- Add a camera: Integrate a camera module with your motion sensor to capture images or videos when motion is detected.
- Implement a web interface: Create a web-based interface to monitor and control your motion sensor remotely.
- Use machine learning: Train a machine learning model to distinguish between different types of motion (e.g., humans, animals, or vehicles) based on the sensor data.
- Combine with other sensors: Integrate additional sensors, such as temperature, humidity, or light sensors, to create a more comprehensive monitoring system.
- Implement power-saving features: Use the Raspberry Pi’s power management features to reduce energy consumption when the motion sensor is not active.
Key Takeaways
- A PIR sensor is an effective way to detect motion using a Raspberry Pi, with advantages like passive operation, insensitivity to non-living objects, and adjustable sensitivity and range.
- To set up a PIR motion sensor with Raspberry Pi, you need basic components like the Pi board, PIR sensor, jumper wires and optionally a breadboard, resistors and LED.
- Wiring the PIR sensor to the Pi involves connecting power, ground and output signal pins.
- Software setup includes updating packages, installing the GPIO library, and writing a Python script for motion detection logic.
- PIR motion sensors with Raspberry Pi can be used for practical applications like home security, wildlife monitoring, saving energy, counting visitors, and more.
- Troubleshooting tips involve double-checking wiring and pin numbering, adjusting sensitivity and delay time, testing components separately, and keeping software updated.
- Enhance the project by adding a camera, web interface, machine learning, combining other sensors, and implementing power management.
Conclusion
Setting up a Raspberry Pi motion sensor using a PIR sensor is a straightforward and rewarding project that can be used in various applications, from home security to wildlife monitoring. By following the hardware and software setup instructions, you can create a reliable motion detection system that can be customized to suit your specific needs. With the troubleshooting tips and enhancement ideas provided, you can take your Raspberry Pi motion sensor project to the next level and explore new possibilities for sensing and automation.
Frequently Asked Questions
- What is the range of a typical PIR sensor?
Most PIR sensors have a detection range of up to 20 feet (6 meters), although this can vary depending on the specific sensor and its sensitivity settings. - Can I use multiple PIR sensors with a single Raspberry Pi?
Yes, you can connect multiple PIR sensors to a single Raspberry Pi by using different GPIO pins for each sensor and modifying your code accordingly. - How can I reduce false triggers from my PIR sensor?
To reduce false triggers, you can adjust the sensor’s sensitivity, increase the delay time between triggers, or use software filtering to ignore brief or repeated motion events. - Can I power the PIR sensor directly from the Raspberry Pi?
Yes, most PIR sensors can be powered directly from the Raspberry Pi’s 5V pin, as long as the total current draw of all connected devices does not exceed the Pi’s maximum rating. - How do I change the GPIO pin used for the PIR sensor?
To change the GPIO pin, update the PIR_PIN variable in your Python code and ensure that you connect the sensor’s output to the corresponding physical pin on the Raspberry Pi. - Can I use a PIR sensor with a Raspberry Pi Zero?
Yes, PIR sensors are compatible with all models of the Raspberry Pi, including the Raspberry Pi Zero. - What is the difference between BCM and BOARD pin numbering?
BCM (Broadcom) and BOARD are two different pin numbering schemes used in Raspberry Pi. BCM refers to the GPIO numbers on the Broadcom SoC, while BOARD refers to the physical pin numbers on the Raspberry Pi header. - How can I make my motion sensor project more energy-efficient?
To make your project more energy-efficient, you can use the Raspberry Pi’s power management features to put the Pi into a low-power state when motion is not detected, or use an external power supply with a higher efficiency rating. - Can I use a PIR sensor to detect motion through glass?
PIR sensors are not effective at detecting motion through glass, as glass blocks the infrared radiation emitted by moving objects. For applications requiring motion detection through windows, consider using microwave or dual-technology sensors. - How can I protect my PIR sensor from outdoor elements?
To protect your PIR sensor from outdoor elements like rain and dust, you can use a weatherproof enclosure or mount the sensor under a protective overhang. - Can I adjust the sensitivity of my PIR sensor?
Yes, most PIR sensors have potentiometers that allow you to adjust their sensitivity and detection range. Consult your sensor’s datasheet for specific instructions on how to make these adjustments. - How can I integrate my motion sensor with home automation systems?
You can integrate your Raspberry Pi motion sensor with home automation systems like Home Assistant, OpenHAB, or Mozilla WebThings by using their respective APIs or add-ons. - What is the typical current draw of a PIR sensor?
PIR sensors typically have a low current draw, ranging from 20 to 150 microamps in standby mode and up to 100 milliamps when active. - Can I use a PIR sensor to trigger a relay?
Yes, you can use the output signal from a PIR sensor to trigger a relay, which can then control higher-powered devices like lights or motors. - How can I filter out small animals from my motion sensor?
To filter out small animals, you can adjust the PIR sensor’s sensitivity to ignore smaller heat signatures or use software filtering to discard motion events that do not meet certain size or duration criteria. - Can I use a Raspberry Pi motion sensor with battery power?
Yes, you can use a Raspberry Pi motion sensor with battery power by using a portable power bank or a battery pack designed for the Raspberry Pi. Be sure to choose a battery with sufficient capacity for your project’s runtime requirements. - How can I store motion detection data from my Raspberry Pi?
You can store motion detection data from your Raspberry Pi by logging events to a local file, sending data to a remote database, or using a cloud-based IoT platform like AWS IoT, Google Cloud IoT, or Microsoft Azure IoT Hub. - Can I use a PIR sensor to measure the speed of a moving object?
While PIR sensors can detect motion, they are not designed to measure the speed of moving objects. For speed measurement, consider using other sensor types like Doppler radar or optical flow sensors. - What is the typical response time of a PIR sensor?
PIR sensors have a typical response time of around 0.5 to 2 seconds, depending on the specific sensor and its settings. This response time can be affected by factors like the size and speed of the moving object, as well as the sensor’s sensitivity and delay time settings. - Can I use my Raspberry Pi motion sensor with other programming languages?
Yes, you can use your Raspberry Pi motion sensor with other programming languages that have libraries for GPIO control, such as C++, Java, or Node.js. However, Python is the most common language used for Raspberry Pi projects due to its simplicity and extensive library support.