
The Raspberry Pi is a small, affordable computer that is ideal for hobbyist projects. One great use case is to utilize the Raspberry Pi as a website monitoring device. With Python, you can write scripts to monitor websites and send alerts if there are any issues detected.
Why Monitor Websites
There are several reasons why you may want to monitor websites:
- Get notified of website downtime to quickly fix issues
- Track website speed and performance over time
- Monitor for malicious attacks or unauthorized changes
- Ensure website is reachable from multiple geographic locations
- Create visual dashboard of uptime status
Raspberry Pi Website Monitor with Python
The Raspberry Pi has enough computing power to reliably check websites and use its GPIO pins and internet connectivity to send notifications. Here is a step-by-step process to create your own website monitoring solution with a Raspberry Pi using the Python programming language.
Hardware Needed
- Raspberry Pi board (any model)
- Power supply
- MicroSD card with Raspberry Pi OS
- Ethernet cable or WiFi dongle
Software Required
- Raspberry Pi OS (preferably latest version)
- Python 3
- Python libraries: requests, timeit
Configure Raspberry Pi
Install the latest version of Raspberry Pi OS onto a microSD card and boot up your Pi board. Connect via SSH or attach keyboard and monitor. Ensure your Raspberry Pi has internet connectivity via Ethernet or WiFi. Update the OS and install Python 3.
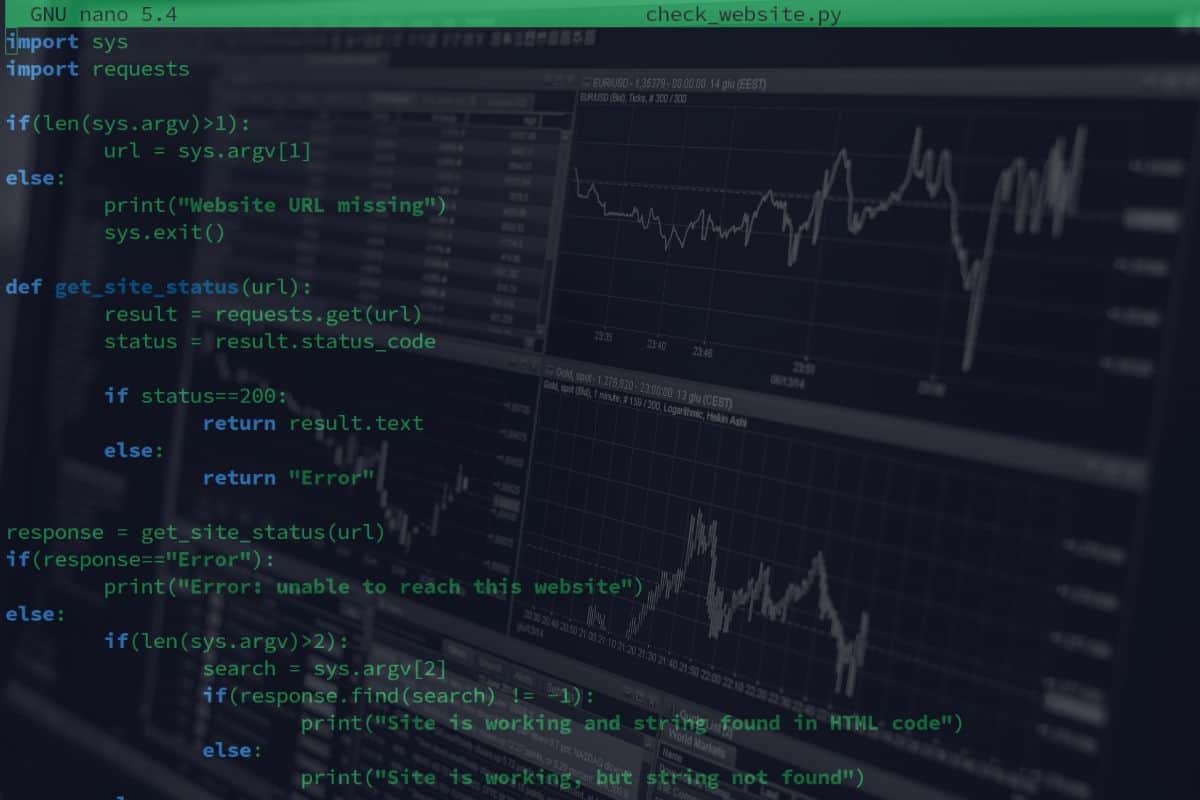
Write Python Website Monitoring Script
Here are the key steps to write a Python website monitoring script on your Raspberry Pi:
- Import the requests and timeit Python libraries
- Define the target URL to monitor
- Write a function to ** HTTP GET request** to target URL
- Measure the response time and status code
- Compare response time and status to expected values
- If issues detected, trigger notification via GPIO pin output
Repeat the script on a cron schedule (every 1-5 minutes). More advanced scripts can monitor multiple URLs from a list, check from different geographic IPs, submit website forms, detect text on pages, and create visual dashboard of metrics.
Implement Notifications
There are various methods to get notified if your Raspberry Pi website monitor script detects an issue with the target URL:
- Flash LED lights connected to GPIO pins
- Send SMS text message
- Trigger audible alarm
- Email admin alerts
- Push notification to phone
- Post to social media feed
- Write issues to log file
Connecting indicator LEDs to the Raspberry Pi via GPIO provides a simple visual notification. For remote alerts, sending an email or SMS text message is common. The script can send alerts to multiple administrators if the website is unreachable or returns errors.
Advanced methods include triggering audible alarms, push notifications to phones, posting to social media feeds to notify the public, writing log files to track historically, and displaying downtime status on digital screens.
Benefits of Raspberry Pi Website Monitor
Why use a Raspberry Pi for this instead of paid cloud monitoring solutions?
- Ultra low-cost solution maximizes value
- Customizable open-source Python scripts
- Electricity efficient for continuously running
- Ability to manipulate GPIO pins for notifications
- Portability to install anywhere needed
- Add peripherals like cameras easily
For less than $100, you can build your own website monitor with a consumer-grade Raspberry Pi board. The Pi draws very little power to run 24/7, and can go anywhere that Ethernet or WiFi internet are available. Expanding the project to add cameras, screens, sensors and more hardware add-ons is straight-forward with readily available accessories. Overall, the extreme affordability, extensibility and educational aspects are why Pi shines for hobbyist website monitoring.
Conclusion
The Raspberry Pi running Python provides an affordable, flexible foundation for real-time website monitoring solutions. You can tailor the monitoring behavior and notifications to your specific needs. This is a great project for learning Python scripting, website management basics, and physical computing techniques. By the end, you will gain skills in programming, administration, hardware interfacing and troubleshooting. So join in on expanding access to website monitoring capabilities!
Key Takeaway: For under $100, a DIY Raspberry Pi website monitor built with Python enables 24/7 availability tracking, with customizable alert notifications via GPIO pins for emails, SMS texts, on-screen logs and LED indicators.
Frequently Asked Questions
Q: What model Raspberry Pi should I use?
A: Any Raspberry Pi model will work – Zero, Pi 3, Pi 4 etc. Pi 4 has the most processing power while Pi Zero is the most compact and energy efficient.
Q: Can I monitor HTTPS websites?
A: Yes, the Python requests library supports monitoring both HTTP and HTTPS URLs.
Q: How frequently will my script check the website?
A: You can configure your Python script to check as often as every minute or as little as once an hour. Checking every 1-5 minutes is common.
Q: What Python libraries are required?
A: At minimum, import the requests and timeit Python libraries. Requests handles HTTP requests and timeit can benchmark response times.
Q: Where should I host my Raspberry Pi monitor?
A: Anywhere with stable power and internet access works. Many run their Pi in a closet with an UPS battery backup power supply for 24/7 operation.
Q: Can Raspberry Pi send SMS or phone alerts?
A: Yes, with an online SMS gateway service and Python library like Twilio you can send alerts to mobile phones from the Pi.
Q: How do I connect indicator LED lights?
A: Connect LED lights to the GPIO pins. Light the LED when your script detects website issues. Use a resistor to avoid excessive current draw.
Q: Is Python the only option for scripts?
A: Python is the most popular, but you can also use Bash, Javascript, Perl or other languages to script website monitoring on a Pi.
Q: Can I monitor performance metrics over time?
A: Yes, log response times and website metrics to a database or CSV file. Then display charts to visualize historical performance.
Q: How else can I expand my website monitor?
A: Consider adding peripherals like cameras to take photos, screens to dashboard stats, and sensors to detect physical issues like high server room temperature.
Q: Does my ISP allow hosting monitoring equipment?
A: Most residential ISP ToS agreements allow hosting small personal servers and automation devices like Raspberry Pis. But check your specific policies.
Q: Can I monitor from different geographic locations?
A: Yes, you can connect Raspberry Pis to different networks worldwide and monitor target websites globally.
Q: Do I need Linux skills?
A: You’ll benefit from basic Linux admin skills for optimally setting up your Pi. But starter guides are plentiful if you have no Linux experience.
Q: Is Raspberry Pi secure for hosting publicly?
A: Like all devices, be sure to change default password, enable firewall, disable unused services, and keep OS updated to maximize security.