
The Raspberry Pi is a versatile single-board computer that has revolutionized the world of electronics and programming. One of its most powerful features is the ability to communicate with external devices through serial ports. Serial communication is a fundamental concept in embedded systems, allowing the exchange of data between the Raspberry Pi and other peripherals or microcontrollers.
In this article, we’ll explore the intricacies of serial reading and writing on the Raspberry Pi, covering essential topics such as setting up the serial interface, transmitting and receiving data, handling common issues, and implementing best practices.
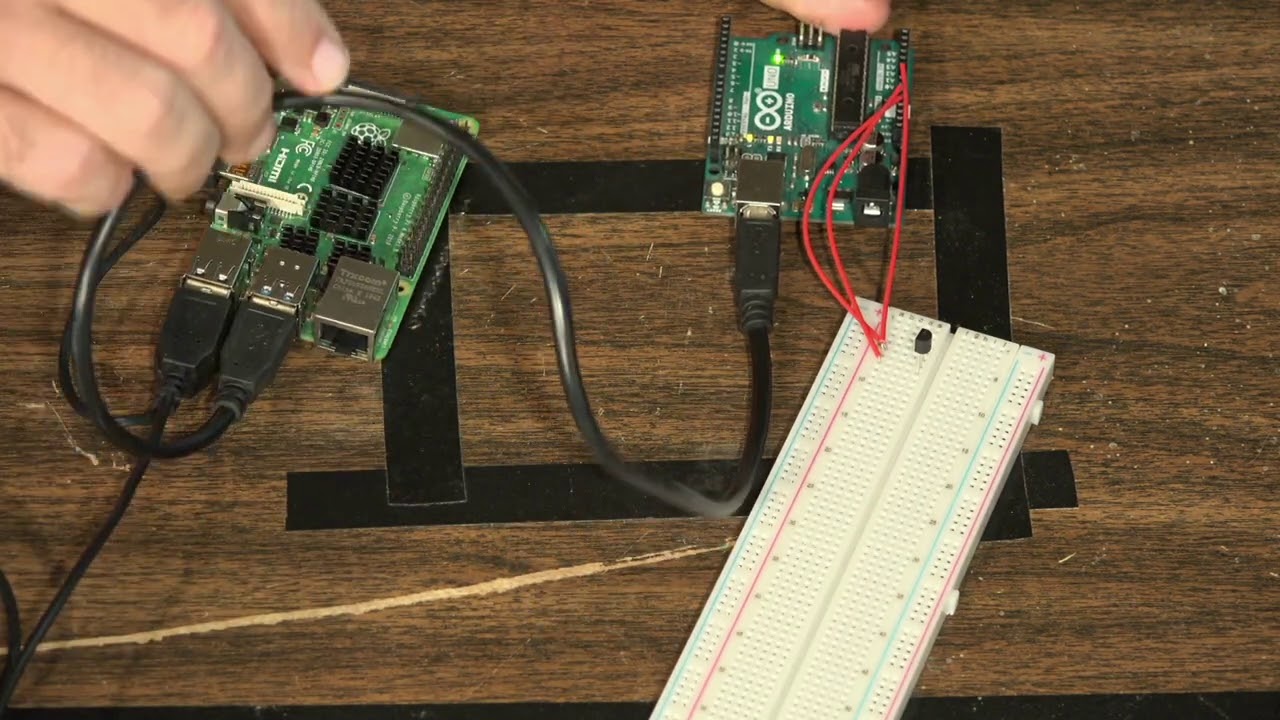
Raspberry Pi Serial Reading and Writing
The Raspberry Pi has several options for serial communication, including the built-in UART (Universal Asynchronous Receiver/Transmitter) interface and USB-to-serial adapters. We’ll focus on the UART interface, as it’s the most common and widely used option.
Setting up the Serial Interface
Before we can start reading and writing data through the serial port, we need to configure the Raspberry Pi’s serial interface. Here are the steps to follow:
- Enable the Serial Interface: By default, the serial interface is disabled on the Raspberry Pi. You can enable it by navigating to the Interfacing Options in the raspi-config tool or by editing the /boot/config.txt file and adding the following line:
enable_uart=1
- Disable the Serial Console: If you’re not using the serial console, it’s recommended to disable it to free up the serial port for other purposes. You can do this by editing the /boot/cmdline.txt file and removing the console=serial0,115200 line.
- Install Required Libraries: Depending on your programming language or framework, you may need to install additional libraries or packages to handle serial communication. For Python, you can use the built-in serial module.
Reading Data from the Serial Port
To read data from the serial port, you need to establish a connection with the port and continuously monitor for incoming data. Here’s an example in Python using the serial module:
python
import serial
# Open the serial port
ser = serial.Serial(‘/dev/ttyS0’, 9600, timeout=1)
while True:
# Read data from the serial port
data = ser.readline().decode(‘utf-8’).rstrip()
if data:
print(data)
In this example, we open the serial port /dev/ttyS0 at a baud rate of 9600 and set a timeout of 1 second. The readline() method reads data from the serial port until it encounters a newline character, and the decode(‘utf-8’).rstrip() converts the raw bytes into a string and removes any trailing whitespace.
Writing Data to the Serial Port
Writing data to the serial port is relatively straightforward. You need to open the serial port and send the data you want to transmit. Here’s an example in Python:
python
import serial
# Open the serial port
ser = serial.Serial(‘/dev/ttyS0’, 9600, timeout=1)
# Send data to the serial port
data = “Hello, Raspberry Pi!”
ser.write(data.encode())
In this example, we open the serial port /dev/ttyS0 at a baud rate of 9600 and set a timeout of 1 second. We then encode the string “Hello, Raspberry Pi!” into bytes using the encode() method and send it to the serial port using the write() method.
Handling Common Issues
While working with serial communication, you may encounter various issues. Here are some common problems and their solutions:
- Permission Denied Error: If you receive a “Permission denied” error when trying to access the serial port, it’s likely due to insufficient permissions. You can fix this by running your script with sudo or by adding your user to the dialout group:
bash
sudo usermod -a -G dialout your_username
- Baud Rate Mismatch: If you’re unable to receive or transmit data correctly, it could be due to a baud rate mismatch between the Raspberry Pi and the connected device. Make sure both devices are configured with the same baud rate.
- Buffer Overflows: When transmitting large amounts of data, you may encounter buffer overflows, leading to data loss or corruption. To mitigate this, you can implement buffer management techniques, such as buffering and flow control, in your code.
Best Practices
To ensure reliable and efficient serial communication, follow these best practices:
- Use Appropriate Baud Rates: Select a baud rate that balances speed and reliability based on your application’s requirements.
- Implement Error Handling: Always handle potential errors and exceptions in your code to ensure graceful error recovery.
- Manage Buffer Sizes: Monitor and manage buffer sizes to prevent buffer overflows or underflows.
- Use Flow Control: Implement hardware or software flow control mechanisms to regulate data flow and prevent data loss.
- Validate and Sanitize Data: Always validate and sanitize incoming data to prevent security vulnerabilities or data corruption.
- Optimize for Performance: Utilize techniques like buffering, threading, or asynchronous programming to improve performance and responsiveness.
- Document and Comment Code: Maintain clear and well-documented code to facilitate future maintenance and collaboration.
Key Takeaways
- The Raspberry Pi’s UART interface allows serial communication with external devices and microcontrollers.
- Setting up the serial interface involves enabling the UART, disabling the serial console (if not needed), and installing required libraries.
- Reading data from the serial port involves continuously monitoring the port and decoding incoming data.
- Writing data to the serial port involves opening the port, encoding the data, and sending it through the write() method.
- Common issues include permission errors, baud rate mismatches, and buffer overflows, which can be resolved through proper configuration and coding practices.
- Best practices for serial communication include using appropriate baud rates, implementing error handling, managing buffer sizes, using flow control, validating and sanitizing data, optimizing for performance, and maintaining clear documentation.
Conclusion
Serial communication is a fundamental aspect of embedded systems and the Raspberry Pi’s ability to handle serial reading and writing opens up a world of possibilities for interfacing with various devices and sensors. By understanding the concepts and best practices outlined in this article, you’ll be well-equipped to develop robust and efficient serial communication applications on your Raspberry Pi projects.
Remember, serial communication is just one aspect of the Raspberry Pi’s capabilities. Explore further and unleash the full potential of this versatile single-board computer in your future endeavors.
FAQs
- What is the purpose of serial communication on the Raspberry Pi?
Serial communication on the Raspberry Pi allows for data exchange with external devices, microcontrollers, sensors, and other peripherals. It enables the Raspberry Pi to receive data from or send data to these components, facilitating a wide range of applications. - What is the UART interface on the Raspberry Pi?
The UART (Universal Asynchronous Receiver/Transmitter) is a hardware component on the Raspberry Pi that enables serial communication. It provides the necessary circuitry and protocols for transmitting and receiving data serially. - How do I enable the serial interface on the Raspberry Pi?
You can enable the serial interface on the Raspberry Pi by running the raspi-config tool and navigating to the “Interfacing Options” or by editing the /boot/config.txt file and adding the line enable_uart=1. - What is the purpose of disabling the serial console?
Disabling the serial console frees up the serial port for other purposes, such as communicating with external devices. If you’re not using the serial console, it’s recommended to disable it to ensure the serial port is available for your application. - What libraries or packages do I need for serial communication in Python?
In Python, you can use the built-in serial module for serial communication. If it’s not installed, you can install it using pip: pip install pyserial. - How do I read data from the serial port in Python?
To read data from the serial port in Python, you need to open the serial port using the serial.Serial() function, and then use methods like readline() or read() to continuously monitor and read incoming data. - How do I write data to the serial port in Python?
To write data to the serial port in Python, you need to open the serial port using the serial.Serial() function, encode the data you want to send using the encode() method, and then use the write() method to transmit the data. - What is a baud rate, and why is it important?
The baud rate is the rate at which data is transmitted through the serial port, measured in bits per second. It’s crucial to ensure that the baud rate is set correctly and matches the baud rate of the connected device to ensure proper communication. - What is a buffer overflow, and how can I prevent it?
A buffer overflow occurs when more data is sent or received than the allocated buffer size can handle, leading to data loss or corruption. To prevent buffer overflows, you can implement buffer management techniques, such as buffering and flow control, in your code. - What is flow control, and why is it important in serial communication?
Flow control is a mechanism that regulates the flow of data between two devices to prevent data loss or overflows. It’s important in serial communication to ensure that data is transmitted and received reliably, especially when dealing with high data rates or limited buffer sizes. - Why is it important to validate and sanitize incoming data?
Validating and sanitizing incoming data is crucial for security and data integrity. It helps prevent vulnerabilities like buffer overflows, code injection, and other potential attacks or data corruption issues. - How can I optimize the performance of serial communication on the Raspberry Pi?
You can optimize the performance of serial communication on the Raspberry Pi by using techniques like buffering, threading, or asynchronous programming. Additionally, choosing appropriate baud rates and managing buffer sizes can improve performance and responsiveness. - What are the common issues encountered when working with serial communication on the Raspberry Pi?
Common issues include permission errors when accessing the serial port, baud rate mismatches between the Raspberry Pi and the connected device, and buffer overflows or underflows. - How can I troubleshoot serial communication issues on the Raspberry Pi?
To troubleshoot serial communication issues, you can check for permission errors, ensure that the baud rates match between devices, monitor buffer sizes, and implement error handling and logging in your code to identify and resolve issues. - Can I use the Raspberry Pi’s serial interface for communication with multiple devices?
Yes, you can use the Raspberry Pi’s serial interface to communicate with multiple devices by implementing a protocol or multiplexing scheme that allows you to manage and distinguish data from different sources. - What are some real-world applications of serial communication on the Raspberry Pi?
Some real-world applications of serial communication on the Raspberry Pi include interfacing with sensors (e.g., temperature, humidity, proximity), controlling motors or actuators, communicating with microcontrollers or Arduino boards, and implementing communication protocols like UART, SPI, or I2C. - How can I ensure reliable and secure serial communication on the Raspberry Pi?
To ensure reliable and secure serial communication on the Raspberry Pi, follow best practices like using appropriate baud rates, implementing error handling and data validation, managing buffer sizes, using flow control, and following secure coding practices. - Can I use the Raspberry Pi’s USB ports for serial communication?
Yes, you can use the Raspberry Pi’s USB ports for serial communication by connecting a USB-to-serial adapter or converter. This allows you to use the serial interface even if the dedicated UART pins are not available or in use. - What are some alternative serial communication protocols or interfaces on the Raspberry Pi?
In addition to the UART interface, the Raspberry Pi supports other serial communication protocols and interfaces, such as SPI (Serial Peripheral Interface), I2C (Inter-Integrated Circuit), and USB serial communication. - How can I learn more about serial communication and programming on the Raspberry Pi?
To learn more about serial communication and programming on the Raspberry Pi, you can refer to official documentation, online tutorials, forums, and community resources. Additionally, exploring open-source projects and experimenting with different serial communication scenarios can help deepen your understanding and practical skills.