
Surveillance and monitoring systems have become increasingly popular for home and business security, as well as for keeping an eye on pets, children, or construction sites. One cost-effective and versatile solution is to transform your Raspberry Pi into a webcam server. This project allows you to stream live video from a USB webcam connected to your Raspberry Pi, which you can then access from any device on the same network or even remotely over the internet.
Prerequisites
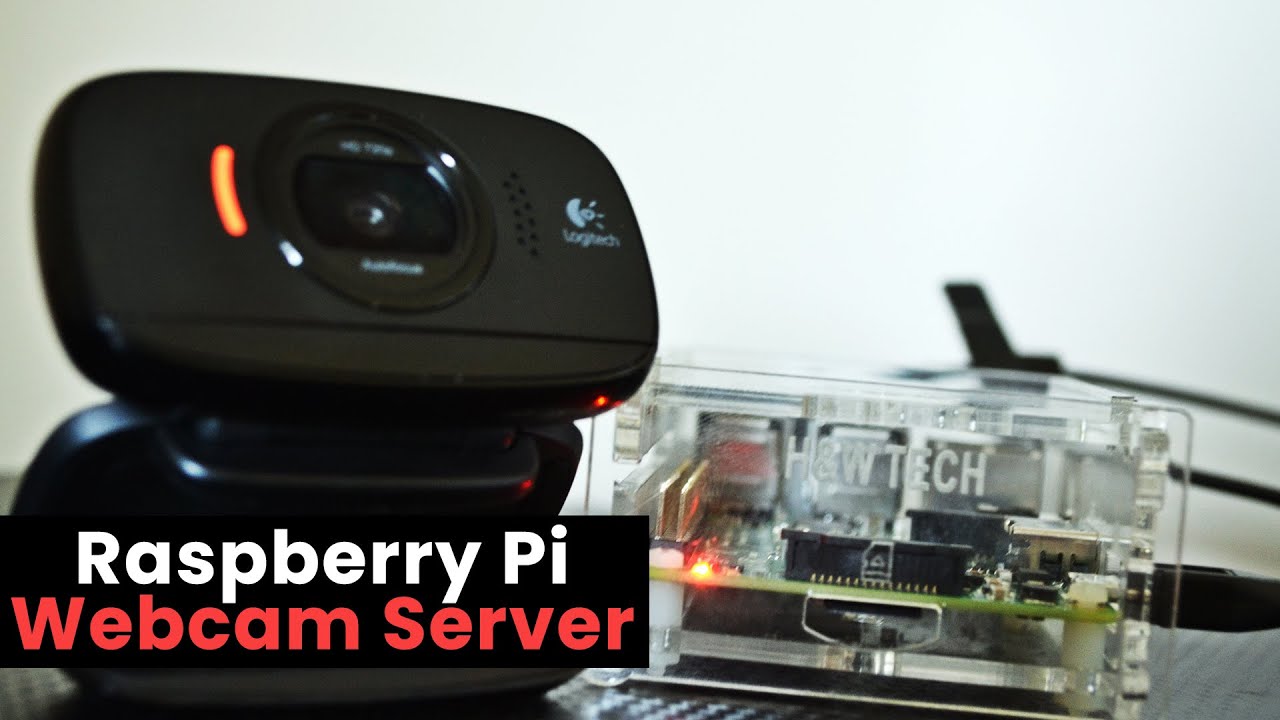
Before we dive into the setup process, ensure you have the following items ready:
- A Raspberry Pi (any model should work, but a Raspberry Pi 3 or newer is recommended for better performance)
- A compatible USB webcam
- A microSD card with Raspberry Pi OS installed (we recommend the latest version)
- A reliable internet connection
- Basic knowledge of navigating the Raspberry Pi terminal and editing text files
Step 1: Install Required Packages
The first step is to update your Raspberry Pi’s package lists and install the necessary software. Open the terminal on your Raspberry Pi and enter the following commands:
sudo apt-get update
sudo apt-get install motion
This will install the motion package, which is a powerful software that can control webcams and act as a video streaming server.
Step 2: Configure Motion
Next, we need to configure the motion software to work with our webcam and set up the desired streaming options. Open the configuration file with the following command:
sudo nano /etc/motion/motion.conf
This will open the motion.conf file in the nano text editor. You can navigate through the file using the arrow keys and make changes as needed. Here are some recommended settings to get you started:
Webcam Settings
webcam_localhost on
webcam_port 8081
Stream Settings
stream_localhost on
stream_port 8082
stream_quality 100
stream_maxrate 1000
Image Settings
output_pictures on
picture_output_extpic jpg
picture_output_crf 30
Target Directory
target_dir /home/pi/webcam
Additional Settings
emulate_motion on
Here’s what these settings mean:
- webcam_localhost and webcam_port specify that the webcam stream will be accessible on http://localhost:8081 on your Raspberry Pi.
- stream_localhost and stream_port specify that the video stream will be accessible on http://localhost:8082 on your Raspberry Pi.
- stream_quality and stream_maxrate control the quality and maximum bit rate of the video stream.
- output_pictures enables capturing still images from the webcam.
- picture_output_extpic and picture_output_crf set the image format and quality.
- target_dir specifies the directory where captured images will be saved.
- emulate_motion enables motion detection (not covered in this guide).
After making the desired changes, save the file by pressing Ctrl+X, then Y, and Enter.
Step 3: Start the Motion Service
With the configuration complete, we can now start the motion service:
sudo service motion start
This command will start the webcam server and video streaming service. You can verify that the service is running by visiting http://localhost:8081 and http://localhost:8082 in a web browser on your Raspberry Pi.
Step 4: Access the Webcam Stream Remotely (Optional)
If you want to access the webcam stream from other devices on your network or over the internet, you’ll need to set up port forwarding on your router. The exact steps will vary depending on your router, but you’ll generally need to navigate to the router’s administration interface and configure port forwarding rules for ports 8081 and 8082, directing them to your Raspberry Pi’s local IP address.
Once you’ve set up port forwarding, you can access the webcam stream from other devices by replacing localhost with your Raspberry Pi’s public IP address or domain name. For example, http://your-public-ip:8081 and http://your-public-ip:8082.
Best Practices and Optimization
To ensure your Raspberry Pi webcam server runs smoothly and provides a great user experience, consider the following best practices and optimization tips:
- Use a High-Quality Webcam: While any USB webcam should work, investing in a high-quality webcam with good resolution and low-light performance will significantly improve the video quality.
- Optimize Video Settings: Experiment with different video quality and bit rate settings to find the right balance between video quality and performance. Higher settings will produce better video but may strain your Raspberry Pi’s resources.
- Enable Hardware Acceleration: Some Raspberry Pi models support hardware acceleration, which can greatly improve video encoding and decoding performance. Check if your model supports this feature and enable it if possible.
- Secure Your Webcam Server: Since you’ll be accessing your webcam server over the internet, it’s crucial to secure it. Use strong passwords, enable encryption (e.g., HTTPS), and consider setting up a VPN for added security.
- Monitor Performance and Resources: Keep an eye on your Raspberry Pi’s CPU, memory, and network usage while running the webcam server. If you notice performance issues, you may need to adjust the video settings or upgrade to a more powerful Raspberry Pi model.
- Schedule Automatic Restarts: Like any software, the motion service may occasionally encounter issues or Memory leaks. Consider setting up a cron job or script to automatically restart the service periodically to ensure smooth operation.
- Implement Motion Detection and Recording: While not covered in this guide, the motion software also supports motion detection and video recording. You can configure these features to capture and store video footage only when motion is detected, saving storage space and making it easier to review relevant footage.
Key Takeaways
- Setting up a Raspberry Pi webcam server is a cost-effective and versatile solution for home or business surveillance and monitoring.
- The motion software package makes it easy to stream live video from a USB webcam connected to your Raspberry Pi.
- Configuring the motion.conf file allows you to customize various settings, such as video quality, resolution, and streaming ports.
- Accessing the webcam stream remotely requires setting up port forwarding on your router.
- Optimizing video settings, enabling hardware acceleration, securing your server, and monitoring performance are essential for a smooth and reliable webcam server experience.
Conclusion
Building a Raspberry Pi webcam server is a fun and practical project that can serve various purposes, from home security and pet monitoring to construction site surveillance. By following the steps outlined in this guide and implementing the best practices and optimization tips, you can create a reliable and user-friendly webcam server tailored to your specific needs. With the power of the Raspberry Pi and the versatility of the motion software, the possibilities are endless.
FAQs
Q. What Raspberry Pi models are compatible with this project?
A. Any Raspberry Pi model should work for this project, but newer models (Raspberry Pi 3 or later) are recommended for better performance and hardware acceleration support.
Q. Can I use multiple webcams with this setup?
A. Yes, the motion software supports multiple webcams. You’ll need to configure each webcam separately in the motion.conf file and assign different ports for each webcam stream.
Q. How much bandwidth does streaming from the webcam use?
A. The bandwidth usage depends on the video quality and resolution settings you’ve configured. Higher quality streams will consume more bandwidth. As a general guideline, expect to use around 1-5 Mbps for typical webcam streaming.
Q. Can I access the webcam stream from multiple devices simultaneously?
A. Yes, the motion software supports multiple concurrent connections to the webcam stream. However, keep in mind that more connections will put a higher load on your Raspberry Pi’s resources.
Q. How do I ensure the webcam stream is accessible over the internet?
A. To access the webcam stream over the internet, you’ll need to set up port forwarding on your router. This will forward incoming traffic on the configured ports (e.g., 8081 and 8082) to your Raspberry Pi’s local IP address.
Q. What video formats are supported for streaming?
A. The motion software supports various video formats, including MPEG, M-JPEG, and FLV. The exact format will depend on your configuration settings and the client you’re using to view the stream.
Q. Can I schedule recordings or streaming times?
A. Yes, the motion software allows you to configure schedules for recording and streaming. You can set specific times or use cron-like syntax to define scheduling rules.
Q. How do I update the motion software or Raspberry Pi OS?
A. To update the motion software, run sudo apt-get update and sudo apt-get upgrade motion in the terminal. To update the Raspberry Pi OS, use the built-in update mechanism or follow the official Raspberry Pi documentation.
Q. What is the maximum resolution supported for streaming?
A. The maximum resolution supported for streaming depends on your Raspberry Pi model and the webcam you’re using. Generally, most modern webcams and Raspberry Pi models can handle up to 1080p (Full HD) resolution, but performance may vary.
Q. Can I add motion detection and alerts to the webcam server?
A. Yes, the motion software includes built-in support for motion detection and alerts. You can configure it to send email notifications, execute scripts, or trigger other actions when motion is detected.
Q. How do I troubleshoot issues with the webcam stream?
A. If you’re experiencing issues with the webcam stream, start by checking the motion service status and logs. You can also try restarting the service or adjusting the configuration settings. Additionally, ensure that your webcam is properly connected and compatible with the Raspberry Pi.
Q. Can I use a IP camera instead of a USB webcam?
A. While this guide focuses on using a USB webcam, it is possible to use an IP camera with the motion software. You’ll need to configure the appropriate settings in the motion.conf file to connect to the IP camera’s stream.
Q. Can I use the Raspberry Pi webcam server for time-lapse photography?
A. Yes, the motion software includes support for time-lapse photography. You can configure settings like the interval between captures, the output format, and the target directory for the time-lapse images.
Q. How much storage space do I need for recording video footage?
A. The storage space required for video recordings depends on the resolution, frame rate, and duration of the recordings. As a rough estimate, expect to use around 1-2 GB of storage per hour of footage at 720p resolution and moderate quality settings.
Q. Can I integrate the Raspberry Pi webcam server with other home automation or security systems?
A. Yes, it’s possible to integrate the Raspberry Pi webcam server with other systems using APIs, scripts, or custom applications. The motion software includes support for executing scripts or commands based on events like motion detection, which can be used for integration purposes.
Q. How do I monitor the CPU and memory usage of the webcam server?
A. You can monitor the CPU and memory usage of the motion service using various system monitoring tools available for the Raspberry Pi, such as htop, top, or the built-in Performance Monitor utility.
Q. Can I run the Raspberry Pi webcam server headless (without a monitor)?
A. Yes, you can run the Raspberry Pi webcam server in a headless configuration without a monitor attached. You’ll need to connect to the Raspberry Pi remotely using SSH or other remote access methods to configure and manage the webcam server.