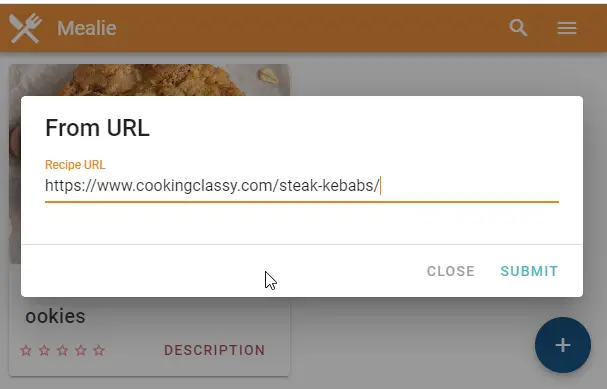
Mealie is an open-source recipe manager and meal planner designed to help you organize your recipes and plan weekly meals. With features like recipe importing, meal planning calendars, grocery list generation, and more, Mealie aims to be an all-in-one solution for your home cooking needs. Thanks to its simple but powerful interface and Python-based architecture, Mealie is easy to install on low powered devices like the Raspberry Pi. This allows you to host your own dedicated Mealie server for free.
Key Takeaways
- Mealie works well on the low cost Raspberry Pi
- Keep privacy, save money and have fun by self-hosting
- Installation is straightforward by following the step-by-step guide
- Be sure to optimize performance, storage, and security
- Enjoy having your dedicated recipes and meal planner server!
Why Install Mealie On a Raspberry Pi?
Here are some of the benefits of running Mealie on a Raspberry Pi at home:
- Privacy – By self-hosting Mealie, your data stays private and is not shared with any external services. You remain in full control.
- Cost – The Raspberry Pi is an inexpensive, low-powered computer perfect for home server applications like Mealie. The total hardware cost can be less than $100.
- Always Available – With a Raspberry Pi Mealie server running at home, you can access your recipes, meal plans, and grocery lists at any time from any device.
- Customizable – You can customize and tweak Mealie to your needs since you control the server environment. Integrate Mealie with other smart home services.
- Fun Project – Setting up a home Mealie server makes for an excellent weekend project that teaches useful technical skills. And you end up with a useful tool.
Hardware And Software Requirements For Installing Mealie on the Raspberry Pi
Installing Mealie on a Raspberry Pi is easy provided you have the right hardware and have set up the operating system. Here is what you need to get started:
- Raspberry Pi – Mealie supports Raspberry Pi models 3B+ and newer. But for best performance, Pi 4 is recommended.
- MicroSD Card – You need a microSD card (16GB Class 10 minimum) to install the Pi’s operating system.
- Power Supply – A official Raspberry Pi USB-C power supply. Using quality power prevents many issues.
- Operating System – Mealie runs on Linux. Raspbian OS is recommended for beginners. But Ubuntu Server and Docker installs also work.
- Network Connection – Your Pi needs to be connected to your home network, ideally via Ethernet, so you can access Mealie.
Step-by-Step Process To Install Mealie on the Raspberry Pi
Follow these steps to get Mealie up and running on your Raspberry Pi:
- Install Raspbian OS – Using Raspberry Pi Imager, install the latest Raspbian OS image onto your microSD card. Raspbian Buster is recommended.
- Initial Pi Setup – Boot your Pi from the flashed microSD card. Run sudo raspi-config to set up basics like Wi-Fi, SSH, locales, and expanding the filesystem. Reboot.
- Update Software – Make sure all system software on the Pi is fully updated by running sudo apt update and sudo apt full-upgrade. Reboot again.
- Install Dependencies – Mealie requires Python 3 and Git to be installed. Run sudo apt install python3-dev git python3-pip to install them.
- Checkout Mealie Software – Next clone the Mealie source code repository from GitHub to your Pi with: git clone https://github.com/hay-kot/mealie.git.
- Install Mealie – Change directory into the new mealie folder and install Mealie system-wide with: sudo pip3 install . This may take a few minutes.
- Configure Mealie – Inside the mealie folder, copy env.example to .env. Edit it to customize settings like desired ports etc.
- Set File Permissions – To ensure smooth operation, certain folders need write access. Run:
sudo chown -R pi:pi /opt/mealie
sudo chmod -R 755 /opt/mealie
- Create Database – Mealie requires a database backend. SQLite works great for starters. Run sudo mealie db create to initialize it.
- Run Mealie – Finally start the Mealie server from inside the mealie folder with: sudo mealie start. It will now be reachable through your Pi’s IP on port 9000.
Once your Raspberry Pi Mealie installation finishes booting up for the first time, you should be able to access it by browsing to your Pi’s local network IP address on port 9000. Such as http://192.168.1.100:9000. The default login is:
- Username – admin
- Password – password
Be sure to log in and change your password as soon as possible! Now have fun adding your recipes and trying out all of Mealie’s great features.
Optimizing Raspberry Pi Performance
Here are some additional tweaks you can try to optimize Mealie performance on your Pi:
- Overclock your Pi’s CPU for extra speed. But watch temperatures.
- For SD card longevity, configure periodic database vacuuming.
- Set up a Scheduled Task to automatically check for Mealie software updates. Keep it secure.
- Enable the Mealie task queue for smoother background job operation.
- Adjust meal thumbnail generation settings to balance performance vs. looks.
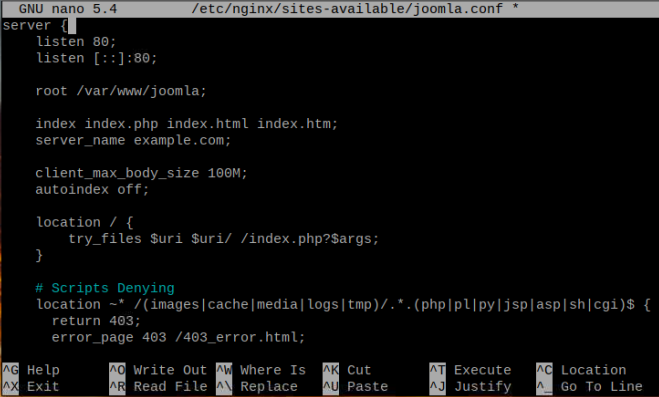
- Switch to NGINX web server and uWSGI application server for better concurrency.
- Use a USB SSD drive instead of an SD card if your Pi supports it. Way faster.
- For heavier usage, migrate to a PostgreSQL database running on external server.
And as always, make sure your Raspberry Pi has good ventilation and airflow. Depending on usage patterns, an external fan may be necessary. Monitor CPU temperature.
With good configuration tuning like above, your homemade Mealie server on a Raspberry Pi can chug along smoothly for years as the digital brain of your kitchen!
Frequently Asked Questions
How do I access Mealie remotely outside my home network?
You need to set up port forwarding on your home router for the port Mealie uses, typically 9000. Then access via your home’s public IP address. Using a VPN would be more secure.
Can I install Mealie on Ubuntu Linux instead?
Yes, you can install Mealie on desktop Ubuntu or a Ubuntu Server. Same great functionality, just adjust commands as needed.
Does Mealie work on other SBCs like the ODroid or Rock64?
While mainly targeted at the Raspberry Pi, you can install Mealie on any 64-bit single board computer or computer that runs Linux well. But performance varies.
What happens if my Raspberry Pi loses power suddenly?
Sudden power loss can corrupt the SD card. Use a UPS battery backup. Configure Mealie task queue and shared database improvements to prevent data loss.
Should I switch from SQLite to PostgreSQL database?
If hosting multiple concurrent users or building custom Mealie integrations, PostgreSQL brings benefits like more stability and performance.
Can I tweak the Mealie interface or add features?
As open source software, you can customize both the Mealie front and backend Python code to your needs. But updates get more complex.
What is the best Raspberry Pi OS for hosting Mealie?
Raspberry Pi OS Lite optimizes system resources for hosting server apps like Mealie. But Raspbian with Desktop is good for beginners.
Is it better to install Mealie in a Docker container?
Container platforms like Docker Compose make managing, backing up, migrating, and scaling Mealie simpler. But need more system resources.
How do I setup HTTPS encryption for Mealie?
Use Let’s Encrypt with the built-in Caddy reverse proxy support in Mealie. This allows secure remote access over HTTPS.
Can I use a Raspberry Pi Zero W or Pi 3?
While possible, lower powered Pi models can struggle with multiple concurrent Mealie users. Pi 4 works best. Overclock if needed.
Should I store recipes backups externally?
Yes, externally backing up your Mealie data is wise. Saves pain from SD card failures. Or corrupted databases.
Can I access my Mealie server from a tablet or phone when away?
The mobile-friendly Mealie interface works great on phones and tablets. Just use your public IP or set up a custom domain name.
Is running Mealie on a Raspberry Pi truly free?
Well your time has value… But beyond small hardware and electricity costs, self-hosting Mealie is basically free!
Can I tweak image generation settings to make Mealie faster?
Yes, decreasing thumbnail dimensions decreases CPU usage. But this affects look. Find optimal balance for your Pi hardware.
What’s the easiest way to setup remote Mealie server updates?
Use the built-in script linking with Watchtower. It can auto update Mealie container with newest version in Docker.
Should I backup my Mealie database too or just config?
Always backup BOTH database and config file. Easy full restore if SD card dies. Saves all data if hardware fails.
Can I automate weekly Mealie database backups?
Great idea! Script a Cron job on your Pi to periodically backup database to external service. Don’t lose your recipes!
Conclusion
Installing the powerful Mealie recipe manager and meal planning system on your own Raspberry Pi is easy and rewarding. By self-hosting Mealie, you save money while keeping control over your cooking data. Mealie empowers home chefs with features like recipe organization, meal planning calendars, grocery lists, nutrition info, and more. And with some smart tweaks you can get good performance even on the Pi. So put on an apron, fire up your DIY Raspberry Pi Mealie server, and get cooking! Deliciousness awaits.
Checkout out Related Topics
- Running Walls on the Raspberry Pi
- Installing and Running Navidrome on the Raspberry Pi
- Using the PiAlert Network Security Scanner on a Raspberry Pi
- How to Build Your Own Mumble Server on Raspberry Pi?
- How to Build a Raspberry Pi Webcam Server in 10 Minutes?


