Key Takeaways
- The affordable Raspberry Pi board serves as an energy-efficient always-on server for self-hosted Seafile.
- Follow the steps to install packages, create a MySQL DB, download software, and customize configurations.
- Link Seafile with external USB drives to provide ample storage capacity.
- Access and sync your private Seafile cloud using official desktop and mobile apps.
- Tune the OS and application settings to optimize performance on the Pi.
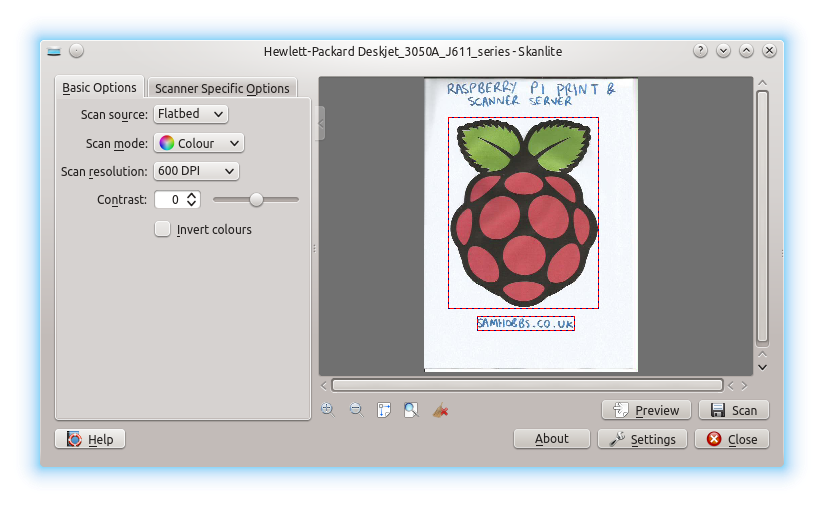
The Raspberry Pi is a versatile single-board computer that is ideal for hosting services like Seafile in your home or small office. Seafile is an open-source file hosting platform that allows you to set up secure file synchronization and collaboration. By installing Seafile on a Raspberry Pi, you can build your own private cloud storage solution.
Table of Contents
Benefits of Using a Raspberry Pi for Seafile
There are several advantages to using a Raspberry Pi specifically for your Seafile server:
- Low power consumption – The Raspberry Pi uses very little electricity, allowing you to run Seafile 24/7 without a major impact on your energy bill.
- Compact size – The Pi’s small form factor means you can tuck it away on a shelf or behind a monitor. No need for a large server closet.
- Always-on availability – With a Raspberry Pi, you can have a server that stays on around the clock to keep Seafile always accessible. The Pi is designed to run non-stop.
- Noise-free operation – The Raspberry Pi runs completely silent with no annoying fan noise to disturb you.
- Affordable cost – For just $35 for a basic model, the Raspberry Pi makes an very economic Seafile hosting solution.
Prerequisites
Before installing Seafile on your Raspberry Pi, you should ensure you have the following:
- A Raspberry Pi model with at least 1GB of RAM. Seafile needs memory to function. Models like the RPi 3 or 4 work best.
- A MicroSD card with Raspbian installed. The OS handles Seafile’s operations.
- USB drive or HDD to store Seafile library files and user data. 16GB+ recommended for usable storage.
- Ethernet cable or WiFi adapter to connect the Pi to your local network. This allows devices to access Seafile.
- Power supply like a phone charger to power the Pi.
- Ability to SSH into the Pi to issue Linux commands during install.
Installation Steps
Installing Seafile on a Raspberry Pi involves a few key steps. Please follow along carefully:
Enable SSH on Raspbian
First, use sudo raspi-config to enable the SSH server on Raspbian so you can remotely execute installation commands. Under “Interfacing options” choose SSH and enable it.
Update the OS
Next, ensure Raspbian is fully up-to-date by running:
sudo apt update

sudo apt full-upgrade
This gets the latest security patches and updates on the OS.
Add a Dedicated Seafile User
For security best practices, create a special seafile user on the system:
sudo adduser seafileThis user account will run the Seafile service.
Install Dependencies
Seafile requires some Python and MySQL packages to function properly. Install them with:
sudo apt install python3 python3-pip mysql-server libmariadb-dev libmariadbclient-dev python3-setuptools python3-virtualenv python3-requests python3-urllib3Create a MySQL Database
Seafile uses MySQL to manage user accounts and metadata. Create a dedicated DB:
mysql -u root -p

 CREATE DATABASE `seafile`;

 CREATE USER 'seafile'@'localhost' IDENTIFIED BY 'password';

 GRANT ALL PRIVILEGES ON `seafile`.* TO 'seafile'@'localhost';
Use your own secure password instead of password when setting up the user.
Download and Configure Seafile
Download Seafile Linux Server Community Edition from the official site. For example, use wget to fetch the latest .tar file:
wget https://download.seadrive.org/seafile-server_10.1.5_x86-64.tar.gzNext we need to define some Seafile configuration settings. Edit seafile.conf:
nano seafile.conf
And set the following variables:
[database]

type = mysql

host = 127.0.0.1

port = 3306

username = seafile

password = your-mysql-password

name = seafile
Replace your-mysql-password above with what you set previously for MySQL.
Save and exit the file.
Deploy and Launch Seafile Service
We are now ready to officially install and start Seafile using the dedicated seafile system account:
sudo su - seafile

seahub start
The seahub start script prompts you to create an admin account and password for your Seafile server console.
Under the hood, this launches a bunch of Python processes to automatically configure your database and get Seafile ready to use. The initial setup may take several minutes.
Once you see “Seafile started” the installation is completed and your private cloud storage environment is ready go. Try accessing it locally via port 8000.
Configuring External Storage
The internal SD card or main disk on your Pi has limited capacity. For sizable storage, you must configures Seafile to store libraries on external USB devices.
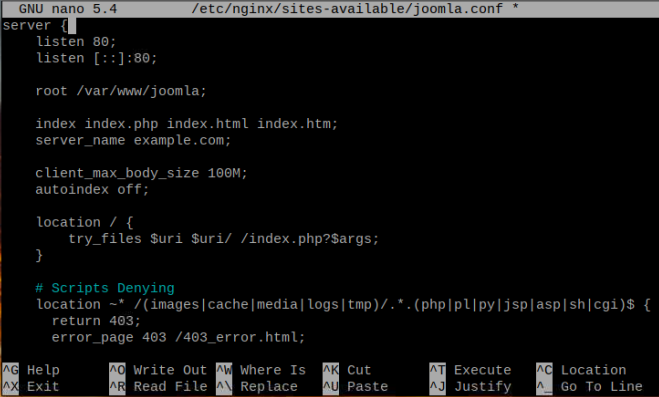
Edit seahub_settings.py:
nano ~/seafile-server-latest/seahub_settings.pyAnd add a line like:
python

FILE_SERVER_ROOT = 'http://127.0.0.1:8082/custom/seafile-data'
Save the file, then create a symlink to your external or secondary drive:
sudo ln -s /mnt/usbstorage/seafile-data /srv/seafile/seafile-dataNow restart Seafile and it utilize the new directory for user storage space.
Connecting via Desktop and Mobile Clients
Once your Raspberry Pi Seafile server is online and accessible on the local network, you can start interacting with it through the Seafile clients:
Desktop
- Windows – Download Seafile Windows Client
- MacOS – Download Seafile Mac Client
- Linux – Package install seafile-client or seafile-gui
Mobile
- iOS – Download Seafile iOS from AppStore
- Android – Download Seafile Android from Play Store
In the client during setup manually enter your Seafile server’s domain name or IP address along with your admin account details. The apps handle all file sync and uploads in a user-friendly interface.
Finalizing the Raspberry Pi configuration
To further optimize Seafile for best performance on the Raspberry Pi, you may wish to tune some system limits.
Edit /etc/sysctl.conf and add:
iniIncrease shared memory for libraries
kernel.shmmax=1024MBump number of file handles to 10000
fs. File-max=10000Tuning virtual memory for SQLite
vm.swappiness=0Save file changes and run sudo sysctl -p to apply updated configs.
For the best Seafile experience on Raspberry Pi, you should also:
- Set up a remote MySQL instance if you have many users
- Enable HTTPS with a free SSL certificate to force secure connections
- Install memcached for caching to reduce database load
- Schedule nightly backups to preserve user data
With these enhancements, your DIY Seafile cloud with Raspberry Pi makes an excellent file management solution for personal use or small organizations on a budget.
Conclusion
Setting up your own private Seafile server with Raspberry Pi provides secure and convenient file synchronization for low cost. Paired with remote access apps, you can access your data from anywhere, while avoiding monthly fees of commercial cloud storage services.
By investing a small amount of time in deployment, you can assemble a durable, low-power solution for file backups, sharing, and collaboration between friends and colleages. The world of DIY cloud servers opens up new possibilities for personal data management.
Frequently Asked Questions
- What is the cheapest Raspberry Pi I can use for Seafile?
The Raspberry Pi 4 with 2GB of RAM models work well, though RPi 3 is usable with good performance in most cases. Avoid the Pi Zero or 1 due to very limited memory. - Can I access Seafile server outside my home network?
Yes, with port forwarding on your router and using your home’s external IP, you can securely access Seafile remotely when away from home. - Is the Raspberry Pi powerful enough to handle multiple Seafile users?
For 3-5 active users, the RPi can keep up. But for larger teams, consider a more powerful CPU like Intel NUC or server. - How do I backup the Seafile data on my Pi?
You can schedule backups to external hard drives. Or replicate your Seafile library folders to a secondary cloud provider like AWS S3. - Can I run Seafile on the same Raspberry Pi I use for Home Assistant or Pihole?
Yes, just ensure you assign Seafile a dedicated CPU core and sufficient RAM to prevent resource contention. - What’s the max external disk size for Pi expansion?
Realistically the Pi can address 1-2 TB direct-attached USB 3.0 HDDs or SSDs. For larger storage, look into NAS enclosures. - Is there any way to reduce Seafile’s database load?
Installing memcached on the Pi boosts performance by caching frequent object queries that would otherwise hit MySQL. - How do I migrate away from Seafile on the Pi in the future?
Seafile allows full database and volume exports for migrating your entire server to a new platform. Shutting down cleanly is easy. - Can I access Seafile from my phone when away from home?
Yes, the free iOS and Android apps allow syncing and file access from anywhere with cell service or WiFi, just like commercial cloud services after you expose your server to the internet. - Is there any risk of losing my Seafile data if the Pi fails?
Absolutely yes. Any single point of failure like the Pi might result in permanent data loss without good backups. Use something like the 3-2-1 strategy for data protection. - How can I monitor the disk health in my Seafile environment?
Tools like smartmontools or bad blocks can perform disk scans to check for issues. Enabling SMART diagnostics can provide early warning of hardware problems. - Which storage format should I use for external Seafile drives?
Linux-native filesystems like EXT4 are best. Avoid NTFS. Using multiple partitions on larger disks helps limit file system corruption risk if that drive has problems. - What’s the easiest way to find logs if something breaks with Seafile on my Pi?
Centralized logging to an Elasticsearch/Kibana instance allows great visibility. Alternatively, just grep through the standard Seafile log files. - Can I automate backups from my DIY Pi Seafile server to Back blaze B2 or Wasabi?
Yes, via open-source tools like Cloudberry Backup or Duplicate, you can schedule encrypted backups to S3-compatible object storage for redundancy.